Bell Net Mail Settings
How Do I Set Up Outlook To Get My Bell Sympatico Emails Pop3 Or

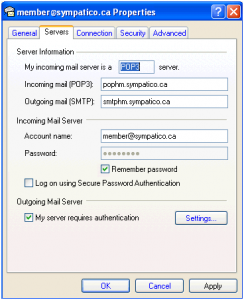
Bell Net Email Server Settings Pop And Smtp Serversettings Email
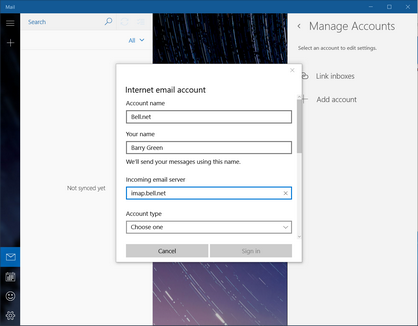
How To Set Up Bell Mail In Windows 10 Mail
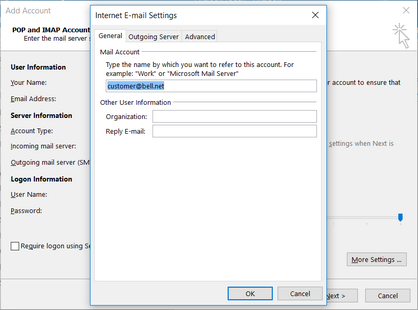
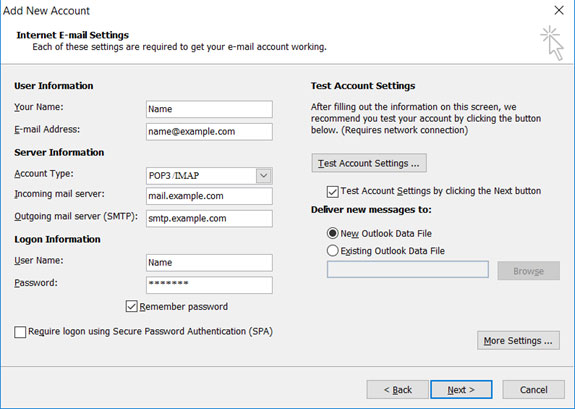
How To Set Up Bell Mail In Outlook 2016
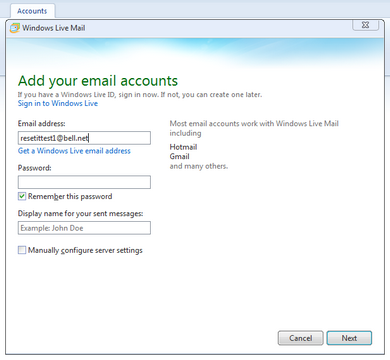
How To Set Up Bell Mail In Windows Live Mail 2011
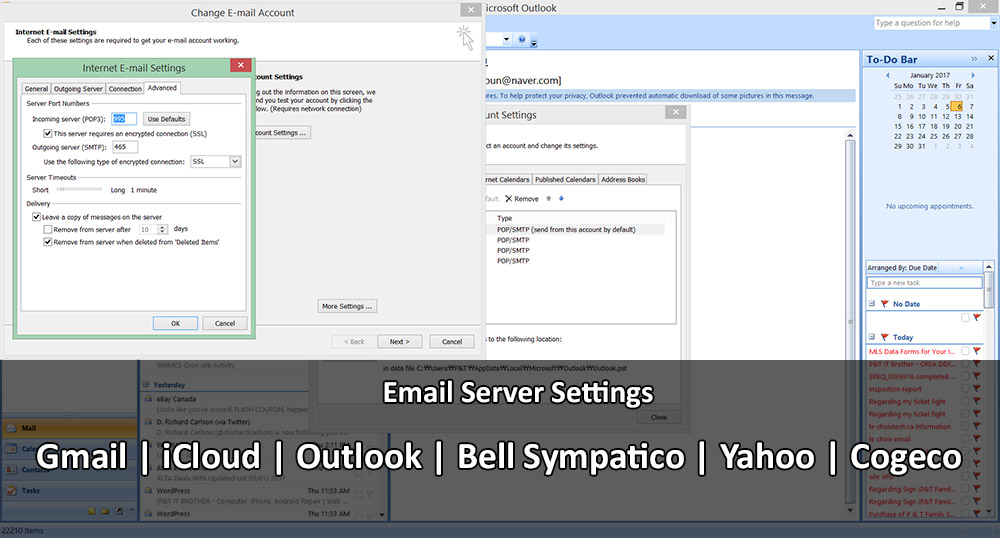
Email Server Settings Gmail Bell Sympatico Icloud Outlook
Bell canada 2018.
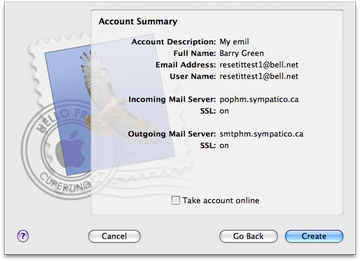
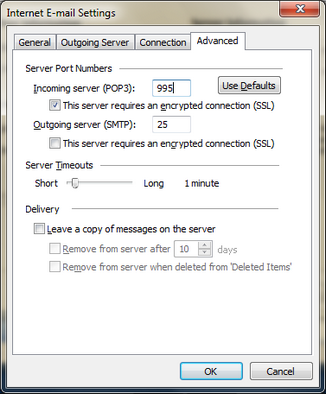
Bell net mail settings. Click more settings click outgoing server. Enter your bell email address under email address. Click add account. Learn more about the security upgrade.
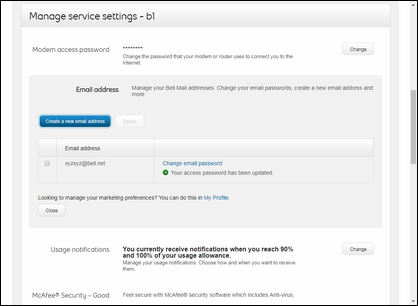
When you are done using. Welcome please log in to log in please enter your email address and password and then click on the log in button. In windows 10 mail click settings. For the password enter your bell email password.
Scroll to and click advanced set up. Under block senders and domains select block and allow email based on the lists below. Re enter your bell email password. To set up block and allow lists.
You can be signed in on more than one computer at once. Enter your bell email address and password. We re currently hard at work making your bell email better. Click manage accounts.
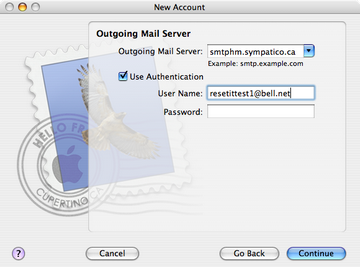
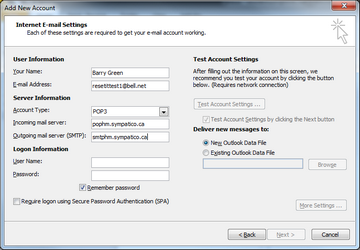
From the menu on the left select security. Enter the email addresses and domains to be blocked. Enter smtphm sympatico ca as the outgoing mail server smtp. Click account type.
Keep me logged in. Select manual setup or additional server types. Click log in or sign in. Click internet email.
Accessing your bell email via the web. During this period you ll experience a temporary two step log in. A security upgrade is coming to at t email so if you have certain email programs or apps you ll have to update your settings. Login continue login.
Thanks for your patience. Click incoming email server. Click pop or imap. Enter your bell email address as the user name.
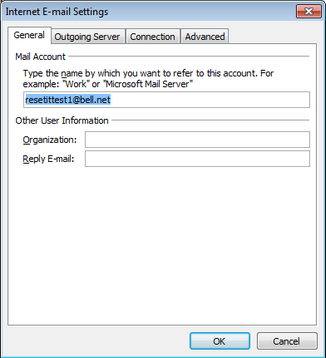
Enter a name for your bell email account.

How To Set Up Bell Mail In Windows Mail
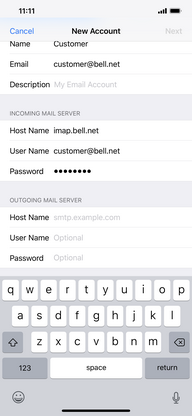
How To Set Up Bell Email On My Apple Iphone
How To Set Up Bell Mail In Mac Os 10 5
How To Set Up Bell Mail In Mac Os 10 4
Bellnet Ca Email Server Settings Pop And Smtp Serversettings Email
How To Set Up Bell Mail In Outlook 2010
How To Set Up Bell Mail In Outlook 2007

Bell Mail Login Bell Net Email Online Cues Youtube
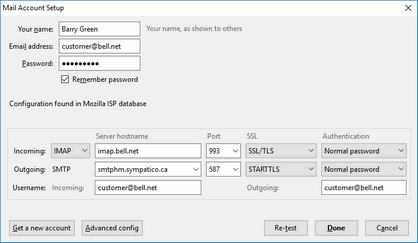
How To Set Up Bell Mail In Mozilla Thunderbird
How To Set Up Bell Mail In Outlook 2003
How To Set Up Bell Email On My Google Smartphone

Transfer Bell Email To Gmail How To Perform Bell To Gmail
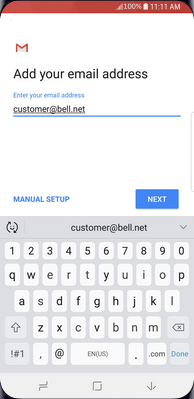
How To Set Up Bell Email On My Samsung Smartphone